How to Build a Miniature Double-Decker Bus Diorama: A Beginner's Tutorial
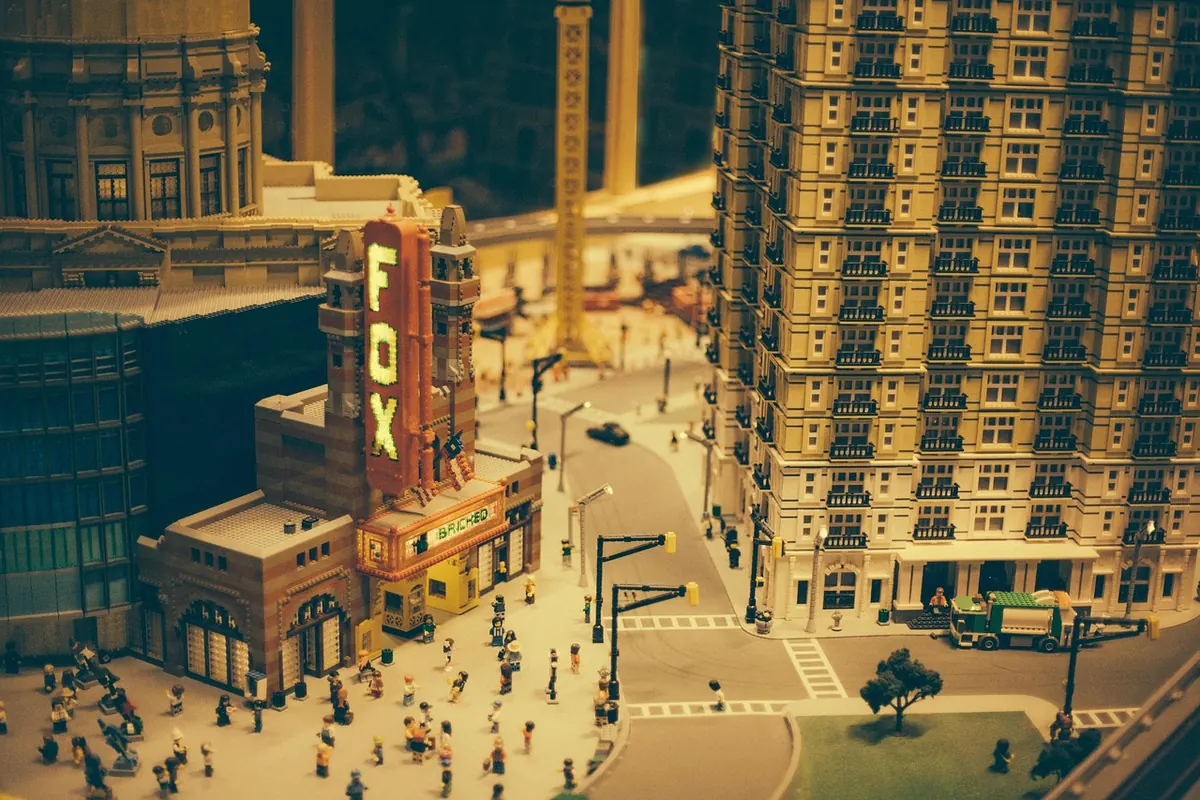
Half the charm of a double-decker diorama is that the bus does so much of the work. Its silhouette is so familiar that even a simple build reads instantly as a British high street. What separates a convincing scene from a shelf of plastic is everything around it: the height of the kerb, the queue at the door, the dull sheen on a windscreen on a grey afternoon. You can build all of that on a board the size of a magazine, using tools you probably already own.
Start With a Story, Not a Bus
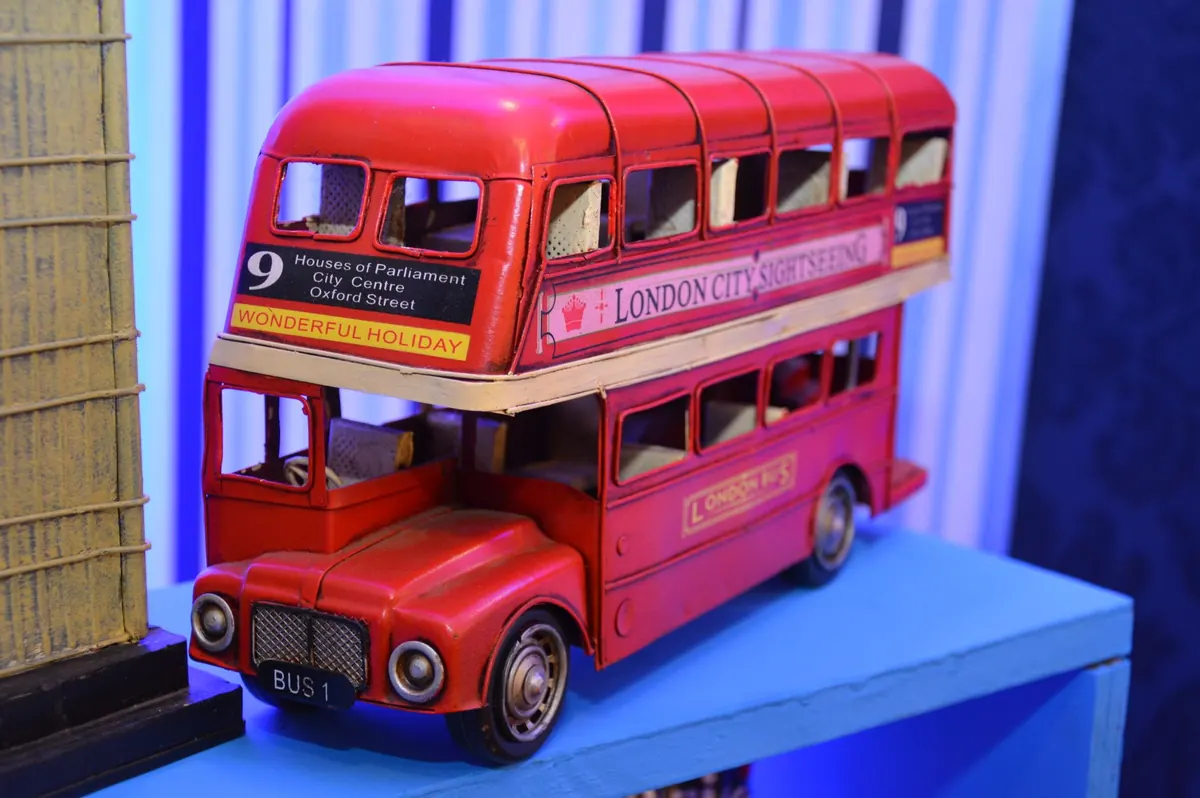
Before you open a kit, decide what is happening in the scene. "A Routemaster pulling away from a stop on a wet Tuesday evening" gives you far more to work with than "a bus". A story answers the practical questions for you: which way the bus is angled, whether the lights are on, how many people are waiting, whether the pavement is still wet.
Then sketch it. A pencil drawing on scrap paper, roughly to size, will save you hours later. Mark where the bus sits, where the road runs off the edge, and where the viewer's eye should land. Most beginners put the bus dead centre and fill every gap. Try nudging it a third of the way across the board instead, with the road curving out of frame. The scene immediately feels like a fragment of somewhere larger.
Choose a Scale and Prepare the Base
Scale decides what you can buy off the shelf. In Britain, 1:76 (OO) has the widest range of buses, figures and street furniture, and it keeps the finished scene small enough for a shelf. At 1:43 you get more presence and easier painting, but the board grows quickly. Continental modellers often work in 1:87. Whichever you choose, everything must match — a 1:76 bus beside 1:43 passengers looks like a fairground trick.
For the base, 6mm MDF or rigid foam board works well; anything thinner will warp once you start gluing wet materials to it. Cut a rectangle between A4 and A3 in size, sand the edges, and seal it with a coat of grey primer or matt emulsion so nothing soaks through.
Painting the Bus
Good paintwork is mostly preparation. Work through these steps in order and you will avoid the two classic disasters: lumpy brush marks, and paint that lifts with the masking tape.
- Wash the body shell in warm water with a little washing-up liquid, rinse, and let it dry completely. Mould release agent is invisible and will ruin coverage.
- File and sand mould seams with 600 to 1000 grit wet-and-dry paper. Run a fingernail along the roof and window pillars; if you can feel a ridge, you will see it under paint.
- Prime with two thin coats of grey primer, letting each dry fully. Thin coats reveal flaws, thick ones bury detail.
- Mask the windows and paint the interior first — seats, floor, a driver figure. You will never get a clean brush in there once the body is finished.
- Airbrush or brush the livery in several thin coats. Traditional bus red is unforgiving: work in good light, and don't try to cover the primer in one pass.
- Apply decals over a gloss coat, then seal everything with satin or matt varnish. Satin suits a working vehicle; high gloss belongs on a showroom model.
Weathering, Windows and Small Details
A brand-new bus in a street scene looks like a toy. Real vehicles collect grime, especially around the rear wheels, under the skirt and along the roof.
Weathering
Start gently. A thin dark wash — heavily thinned brown-black acrylic — brushed into panel lines and left to dry will pick out the shut lines on doors and engine covers. Wipe most of it away with a fingertip before it sets. Then dry-brush a little pale grey on the roof and around the rear, where road spray and exhaust settle. Keep the sides cleaner than the roof. If it looks heavy, a coat of the base colour thinned almost to water will pull it back.
Windows
Windows make or break a model bus. Use the kit glazing, or cut thin clear plastic sheet to fit, and paint a faint grey-blue band across the top to suggest reflections. Print a destination blind on plain paper — a town name and route number, sized to the aperture — and glue it inside the front window. Keep the lettering slightly soft; nobody reads it, they just register that something is there.
The Road, Kerbs and Pavement
Road surfaces are easier than they look. Spread a thin layer of fine sand or powdered filler onto wet grey paint or PVA, then, once dry, sand it lightly and paint again. That gives you the subtle grain of asphalt without a textured sheet that looks out of scale.
Kerbs need a consistent height along the whole scene, usually 2 to 3mm in 1:76. Plastic or balsa strip works; paint it pale grey and add a thin dark line where it meets the road. Road markings can be masked with tape and painted white, then scratched lightly with a blade to look worn.
Pavement slabs are best scored into thick card or foam board with a blunt pencil and a steel rule, then given a wash to darken the grooves. Add a drain cover cut from kitchen foil, a manhole from a disc of plastic card, and a few weeds — a pinch of static grass or fine flock pressed into the crack between pavement and kerb.
Passengers and Street Clutter
Figures are where a scene comes alive, and where most beginners overdo it. Three to six well-placed people will read better than fifteen standing at intervals.
Group them with a purpose. Two waiting at the stop, one with a hand on the rail stepping aboard, one walking away with a bag. Paint the faces in a flat flesh tone, add a hint of shadow under the chin, and keep clothing plain — dark coats, one bright scarf. Turn them slightly towards each other. A queue of figures all facing forward looks like a parade.
Then add clutter, but only a little: a bus stop flag, a litter bin, a folded newspaper on a bench, a paper cup near the kerb. These small items give the eye somewhere to rest and make the scene feel used rather than assembled.
Know When to Stop
Dioramas usually fail by addition. Once the bus, road and figures are in place, look at the board from arm's length and ask what is missing rather than what could be added. Often the answer is nothing. Leave the empty stretch of pavement empty; it gives the bus room to breathe.
Finish by dusting with a soft brush, checking that nothing is loose, and covering the model with a clear plastic box or a sheet of acrylic. Keep it out of direct sunlight, which fades paint and yellows varnish faster than most hobbyists expect. Then start planning the next one — a turning circle, a garage forecourt, a rainy terminus at dusk. The second scene always goes together quicker than the first.