
How to Choose Your First Die-Cast Double-Decker Bus Model: A Beginner's Buying Guide
It usually starts with one bus. A Routemaster bought in a museum shop, a Hong Kong Dennis found at a swapmeet, a battered Matchbox rescued from a drawer. Then a second one arrives, and you are suddenly looking for shelf space.
The models you buy in that first year decide what your collection looks like in five. Scale, material, detail, licensing and display all matter — and none of them is obvious when you are standing in front of a display case with your wallet open.
Pick a Scale Before You Pick a Bus
Scale is the single decision that is hardest to undo. A collection that jumps between 1:76, 1:43 and 1:24 never quite sits together on a shelf: the buses look like they arrived from different worlds.
For double-deckers, a 1:76 model lands at roughly 13 centimetres long, which is why the scale dominates British bus collecting. Continental collectors tend toward 1:87, which is slightly smaller and slots neatly alongside HO railway layouts. If you want presence and weight in your hand, 1:43 gives you about 23 centimetres; 1:24 is a shelf centrepiece at over 40 centimetres.
A quick scale reality check
- 1:87 and 1:76 — wide choice of operators and liveries, easy to store, ideal if you want a large fleet.
- 1:64 and 1:50 — a middle ground, often found in die-cast ranges sold in toy and hobby shops.
- 1:43 — better interior and engine detail, fewer models per shelf.
- 1:24 — showpiece pieces, usually bought one at a time and displayed on their own.
Choose one primary scale and treat anything else as a deliberate exception. Your future self, hunting for cabinet space, will thank you.
Know Your Materials: Die-Cast, Resin and Plastic
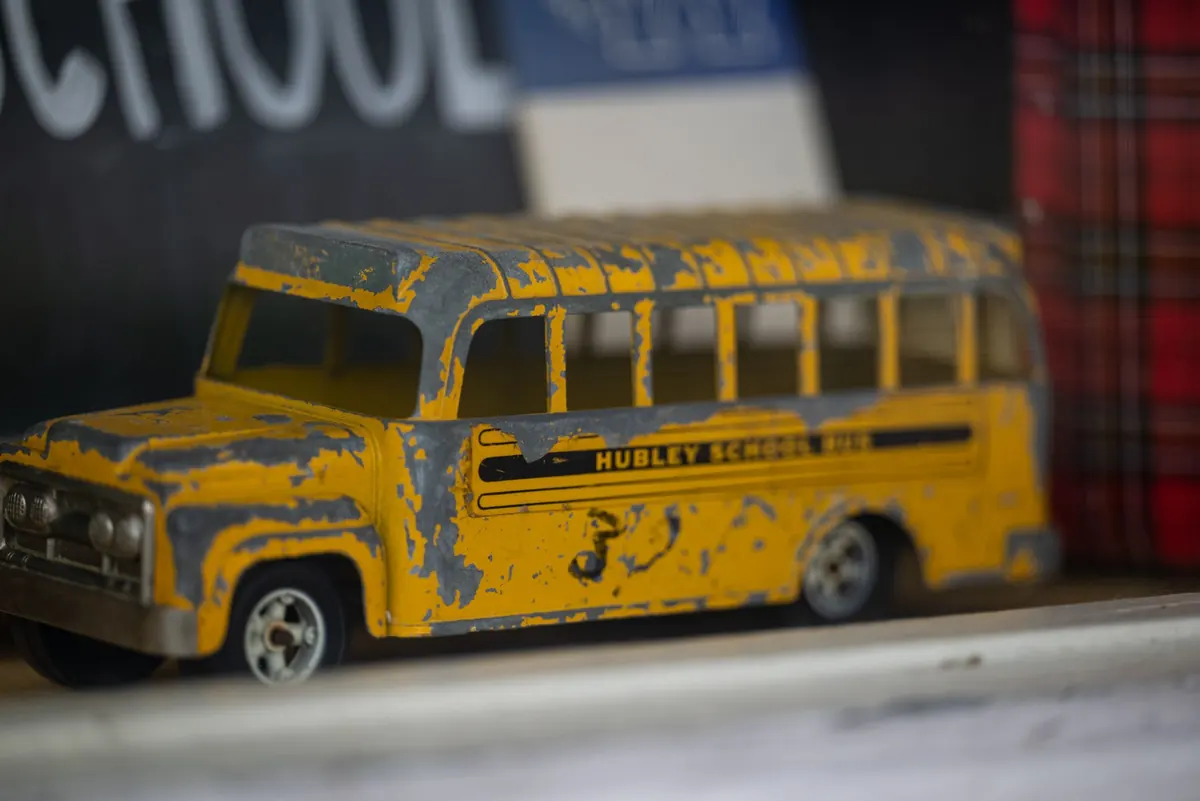
Most beginner-friendly double-deckers are die-cast: a zinc alloy body with plastic detail parts. They have a satisfying heft, take paint well and survive the occasional clumsy handling. Older die-cast can develop a rough, powdery surface known as zinc pest, so keep models dry, stable and away from damp garages and lofts.
Resin models are a different animal. They are often hand-assembled in small batches, with crisper edges and finer panel lines than die-cast can manage. They also chip rather than bend, and they are generally more expensive. If you plan to handle your models often, start with die-cast.
Plastic-bodied models sit at the affordable end. They are light, sometimes feel hollow, and are a sensible way to work out which era or operator you actually enjoy before spending more. There is no shame in that — a cheap model that teaches you your own taste is good value.
Detail Is Where the Money and the Fragility Live
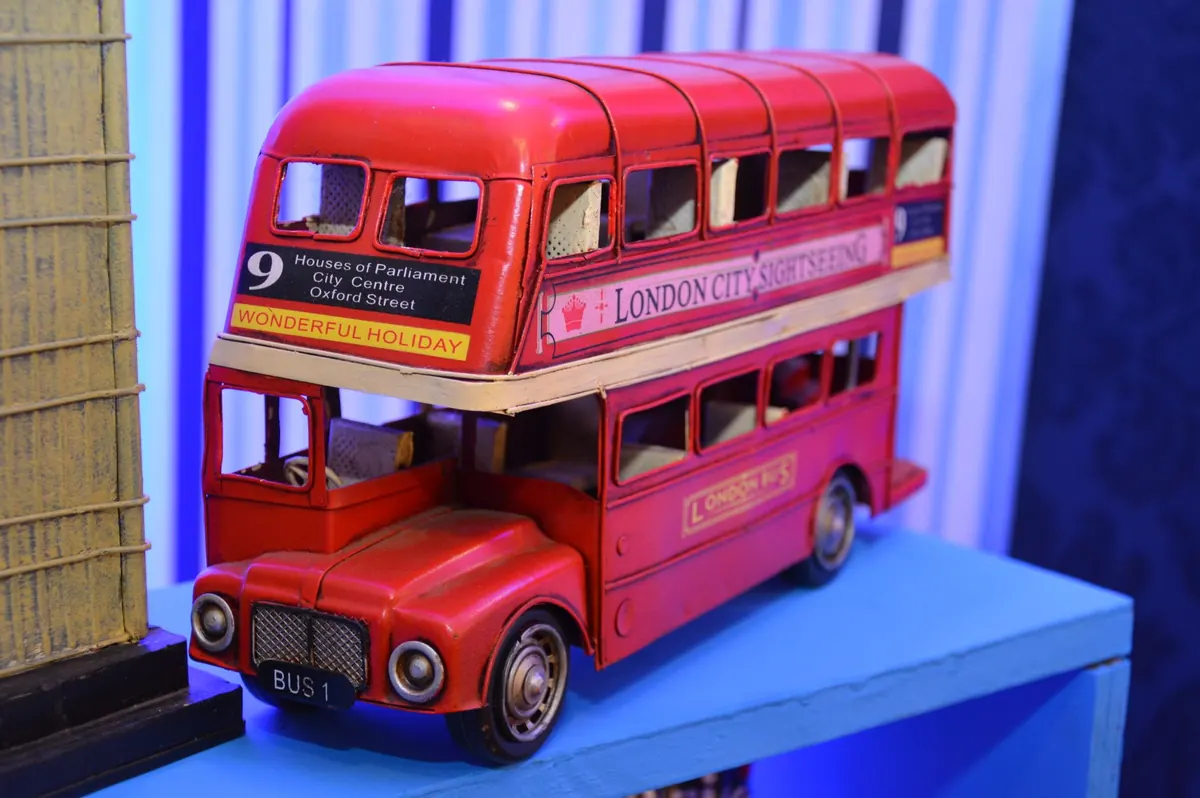
Look closely at how the livery is applied. Printed tampo decoration holds up well and sits flush to the body; waterslide decals can look sharp but may lift at the edges over time. Separately fitted mirrors, wipers, handrails and destination blinds are the sign of a more serious model — and the first thing to snap off when a shelf gets dusted too enthusiastically.
Opening doors, engine hatches and posable wheels add play value but also seams and gaps. Ask yourself honestly whether you want an accurate static model or a tactile one, because you rarely get both at the same price point. Interior seating, correct route blinds and accurate wheel styles are worth more to most collectors than a gimmick.
Licensing and Livery Accuracy
Officially licensed models carry permission from the bus manufacturer and often from the operator whose colours are being reproduced. That matters more than it sounds. Licensed releases tend to get the typeface on the destination blind, the fleet number placement and the shade of the paint right, because the manufacturer has to have the artwork approved.
Unlicensed or loosely licensed models can still look convincing at arm's length, but check the details against photographs of the real bus. A Routemaster in a livery it never wore, or a New Routemaster with the wrong front end, is the kind of thing you notice every time you look at it afterwards. If accuracy matters to you, buy from makers who publish their reference sources.
Display and Storage: Decide This Before Checkout
Your models will spend almost all their lives on a shelf, so plan that shelf now. Direct sunlight fades paint and yellows plastic within a few years, and radiators or sunny windowsills do the same work faster. A glass cabinet with a door, or an acrylic case for a single large model, keeps dust off and stops small parts going missing.
- Keep the box, sleeve and any certificate. It helps if you ever sell, and it protects the model between moves.
- Display away from windows, radiators and kitchen steam.
- Use a soft brush, not a cloth, for dusting fine details.
- If you want to handle a favourite, buy two: one to display, one to keep sealed.
Building a Starter Collection That Stays Coherent
A theme stops a collection becoming a pile. It does not have to be clever — "buses I have ridden" is one of the best themes there is.
- Choose a subject: one operator, one city, one decade, or one bus type such as the Routemaster or the Bristol Lodekka.
- Fix your scale and stick to it for at least the first ten models.
- Set a rough annual budget. Two or three well-chosen models a year beats ten impulse buys.
- Buy from specialist dealers, model fairs and museum shops where you can inspect paint and check for missing mirrors.
- Keep a simple record — maker, scale, fleet number, date and where you bought it. A notebook is enough.
Make the First One Count
Buy the bus you have actually seen, ridden or queued behind. A model of a route you know will keep its charm long after the novelty of a random bargain has worn off, and it gives you a natural starting point for everything that follows. Start with one, in one scale, from a maker whose detail you trust — then let the shelf grow at its own pace.
Photo: Chris F / Pexels